
PasteMemo Help
Everything you need to know about PasteMemo, the smart clipboard manager for macOS.
Quick Start
Installation
Install PasteMemo via Homebrew (recommended):
brew tap lifedever/tap
brew install --cask pastememo
Update to the latest version: brew upgrade --cask pastememo
Or download the .dmg from GitHub Releases.
First Launch & Onboarding
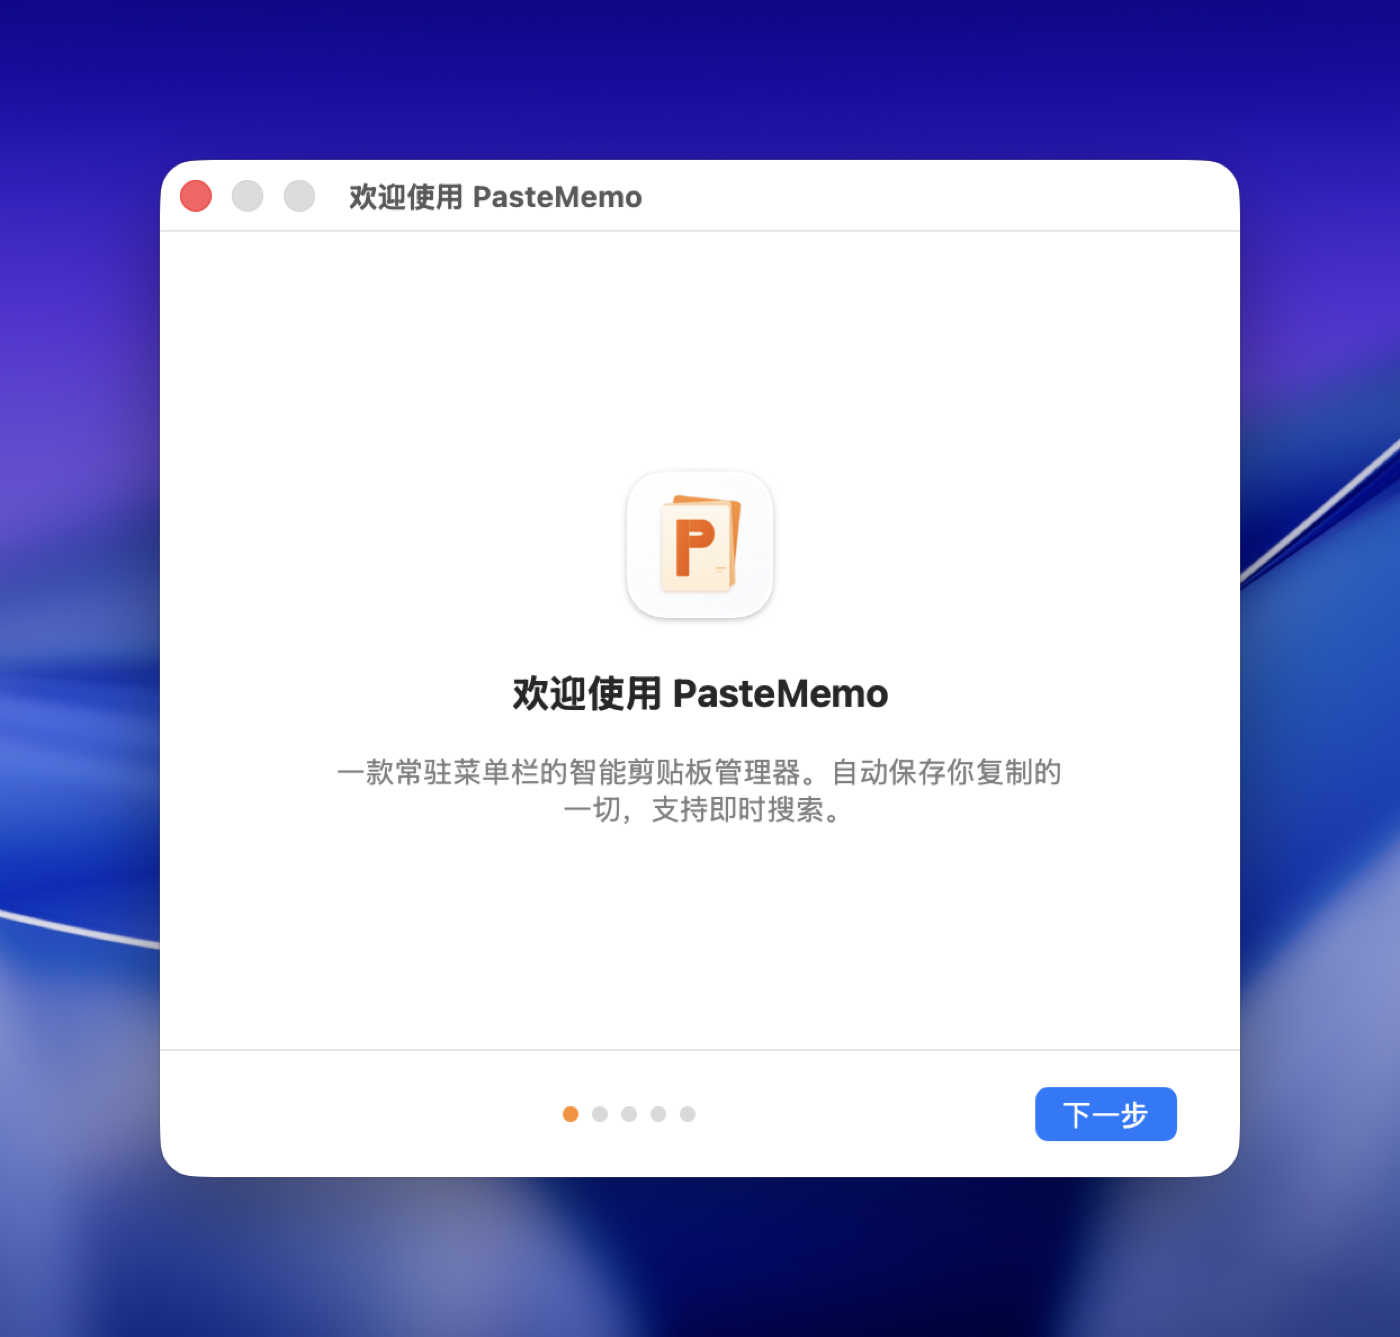
When you first open PasteMemo, a brief onboarding guide will walk you through the essential setup. PasteMemo runs as a menu bar app — you will see its icon in the top-right area of your screen. It does not appear in the Dock.
Accessibility Permission
PasteMemo requires Accessibility permission to simulate paste actions. On first install, macOS will prompt you to grant this in System Settings > Privacy & Security > Accessibility. After a system or app update, the permission may need to be re-granted — simply toggle PasteMemo off and on again in the list.
Setting Up the Quick Paste Shortcut
The default shortcut is ⌘ ⇧ V. You can customize it in Settings > General. This global shortcut opens the Quick Paste panel from any application.
Quick Paste Panel

Opening & Closing
Press your configured shortcut (default ⌘ ⇧ V) to open the panel. Press Esc or click outside the panel to close it.
Search & Filter
Start typing to search your clipboard history instantly. Use the type tabs at the top to filter by content type (Text, Image, Link, File, Code, Color). Switch between tabs with Tab / Shift+Tab or ← →.
Navigation
Use ↑ ↓ arrow keys to navigate items, or use the mouse/trackpad to scroll and click.
Paste Actions
- Enter — Paste with original formatting. When pasting text to Finder, it is saved as a file.
- Shift+Enter — Paste and append a newline (great for terminal commands).
- ⌘+Enter — Plain text paste (strips formatting). For files, this pastes the file path.
- Double-click — Same as Enter (paste with format).
Multi-Select
Hold ⌘ and click to toggle individual items. Hold Shift and click to select a range. Use Shift+↑/↓ to extend the selection with the keyboard.
Batch Paste
When multiple items are selected, pressing Enter pastes them all. Items of the same type are merged (e.g., multiple text clips become one block), while different types are pasted sequentially.
Quick Actions (⌘K)
Press ⌘+K to open the command palette for quick access to all actions. Navigate with arrow keys, press a shortcut letter, or click to execute.

Available actions and their shortcut keys:
- V — Paste
- P — Paste as plain text / Paste path / Open link (adapts to content type)
- C — Copy
- R — Add to Relay Queue
- S — Split & Relay
- T — Pin / Unpin
- E — Toggle Sensitive
- D — Delete
Hold Option to add a new line after paste actions.
Other Actions
- ⌘+C — Copy the selected item to clipboard without pasting.
- Hold Option — Temporarily reveal sensitive content for the current item.
- ⌘+O — Preview item or open link in browser.
- ⌘+Delete — Delete the selected item.
- Right-click — Context menu with pin, mark sensitive, copy, delete actions.
Main Window

Sidebar Filters
The left sidebar provides quick filters: All, Pinned, Sensitive, filter by Type (text, image, link, file, code, color), and filter by Source App.
List Operations
Click to select an item. Use ⌘+click for multi-select and Shift+↑/↓ for range selection. ⌘+A selects all items in the current view.
Detail View & Preview
The right pane shows a detailed preview of the selected item. Rich text is rendered with its original formatting. Images are displayed at full resolution. Links show metadata and favicons.
Edit Mode
For text and code items, you can enter edit mode to modify the content before pasting. Changes are saved to the clipboard history.
Copy
⌘+C copies intelligently: if you have text selected in the detail view, it copies the selection. Otherwise, it copies the full item.
Right-Click Menu
Right-click any item for options: Pin/Unpin, Mark/Unmark Sensitive, Copy, Merge selected items, and Delete.
Multi-Select Actions
When multiple items are selected, an action panel appears at the bottom with bulk operations: Pin, Mark Sensitive, Merge into one item, and Delete.
Sensitive Content Protection

Auto-Detection
PasteMemo uses multiple layers to automatically detect sensitive content:
- Source app detection — Content from password managers (1Password, Bitwarden, KeePass, etc.) is automatically marked sensitive.
- Keyword + context — Patterns like
password=,token:,secret_key, etc. - Regex patterns — AWS keys, GitHub tokens, JWT tokens, SSH private keys, API keys, and more.
- High entropy strings — Random strings that look like passwords or tokens.
What is NOT Marked Sensitive
Email addresses, phone numbers, CJK text, URLs, and plain names are not flagged as sensitive to avoid false positives.
Display
Sensitive items show partial masking: the first and last characters are visible, with the middle replaced by &••••. The source app badge is displayed alongside.
Revealing Content
- In the detail view, click the reveal button to show the full content. It auto-hides after 30 seconds.
- In the Quick Paste panel, hold the Option key to peek at the current item only.
Manual Control
You can manually mark or unmark items as sensitive via the right-click menu, both individually and in batch. The auto-detection can be toggled on/off in Settings.
Ignored Apps
Prevent specific applications from being recorded in your clipboard history. Any content copied from an ignored app will be silently skipped.
Configuration
Go to Settings > Rules to manage your ignored apps list. You can add apps from your currently running applications (with multi-select) or browse /Applications.
Recommendations
During onboarding, PasteMemo automatically recommends adding password managers to the ignore list for maximum security.
Data Management
Export
Export your clipboard history to a .pastememo file. You can optionally enable AES-256-GCM encryption with a password. The filename includes a timestamp for easy identification.
Import
Import from a .pastememo file. Encryption is auto-detected (you will be prompted for the password if encrypted). Duplicate items are automatically skipped during import.
Quick Access
Export and Import are available from the File menu for convenient access.
Clear Data
You can clear all clipboard history from Settings. Pinned items are preserved and will not be deleted.
History Retention
The retention period is a soft filter. Changing it to a longer period will recover previously hidden items — no data is actually deleted until you explicitly clear it.
Auto Backup

Automatically back up your clipboard history on a schedule. Supports two backup methods:
- Local — Back up to a folder on your Mac. You can choose any directory, including iCloud Drive, Dropbox, or other sync services for cloud backup.
- WebDAV — Back up to a WebDAV server (Nextcloud, alist, Synology, etc.). Configure server URL, username, and password in Settings.
Backup frequency options: every 6 hours, daily, every 3 days, weekly, or monthly. You can keep up to 10 backup copies with automatic rotation.
To restore, click "Restore from Backup" in Settings > Data. Choose merge (keep existing data, skip duplicates) or overwrite (replace all data).
Rich Text & Plain Text

Capturing
PasteMemo preserves the original formatting (RTF/HTML) from your clipboard. When you copy styled text from a browser, document, or editor, the formatting is retained.
Paste Options
- Enter — Paste with original formatting preserved.
- ⌘+Enter — Strip all formatting and paste as plain text only.
Auto-Downgrade
For 30+ apps that produce unnecessary rich text (WeChat, QQ, DingTalk, Slack, VS Code, JetBrains IDEs, Terminal, etc.), PasteMemo automatically strips formatting and stores content as plain text.
Preview
Rich text items are rendered with their full formatting in the Main Window detail view. Deduplication takes rich text data into account.
Sound Effects
PasteMemo can play sound effects to provide auditory feedback:
- Copy sound — Plays when any application copies content (global monitoring).
- Paste sound — Plays when you paste via PasteMemo.
14 built-in system sounds are available. The sound previews when you select it in Settings. Each sound type can be independently enabled or disabled.
Relay Mode
What is Relay Mode?
Relay Mode lets you copy multiple items into a queue, then paste them one by one in FIFO order. Perfect for batch data entry — like copying a list of names from a webpage and pasting them row by row into a spreadsheet.
Entering Relay Mode
There are three ways to start Relay Mode:
- Select multiple items → right-click → "Add to Relay Queue"
- Select a text item → right-click → "Split & Relay" → choose a delimiter
- Click the Relay button in the toolbar or menu bar to start with an empty queue, then copy items to add them
Queue Window
A floating panel shows the current queue with progress. You can drag to reorder, hover to delete or split, and use the controls at the bottom.

Pasting
Press Ctrl+V (customizable in Settings → Relay) to paste the next item in the queue. The pointer advances automatically.
Controls
- Skip — skips the current item
- Previous — goes back one item
- Pause — temporarily restores normal PasteMemo operation while keeping the queue
- Exit — closes Relay Mode and clears the queue
- Auto exit — when enabled, Relay Mode exits automatically when the queue is empty
Split
Split a text item into multiple queue entries by delimiter (newline, comma, Chinese comma, or custom). The split preview updates in real-time as you change the delimiter.
Notes
- Quick Paste is paused during Relay Mode
- New copies are automatically added to the queue
- Consecutive duplicate copies are filtered out
- Blank/whitespace-only content is filtered out
Automation
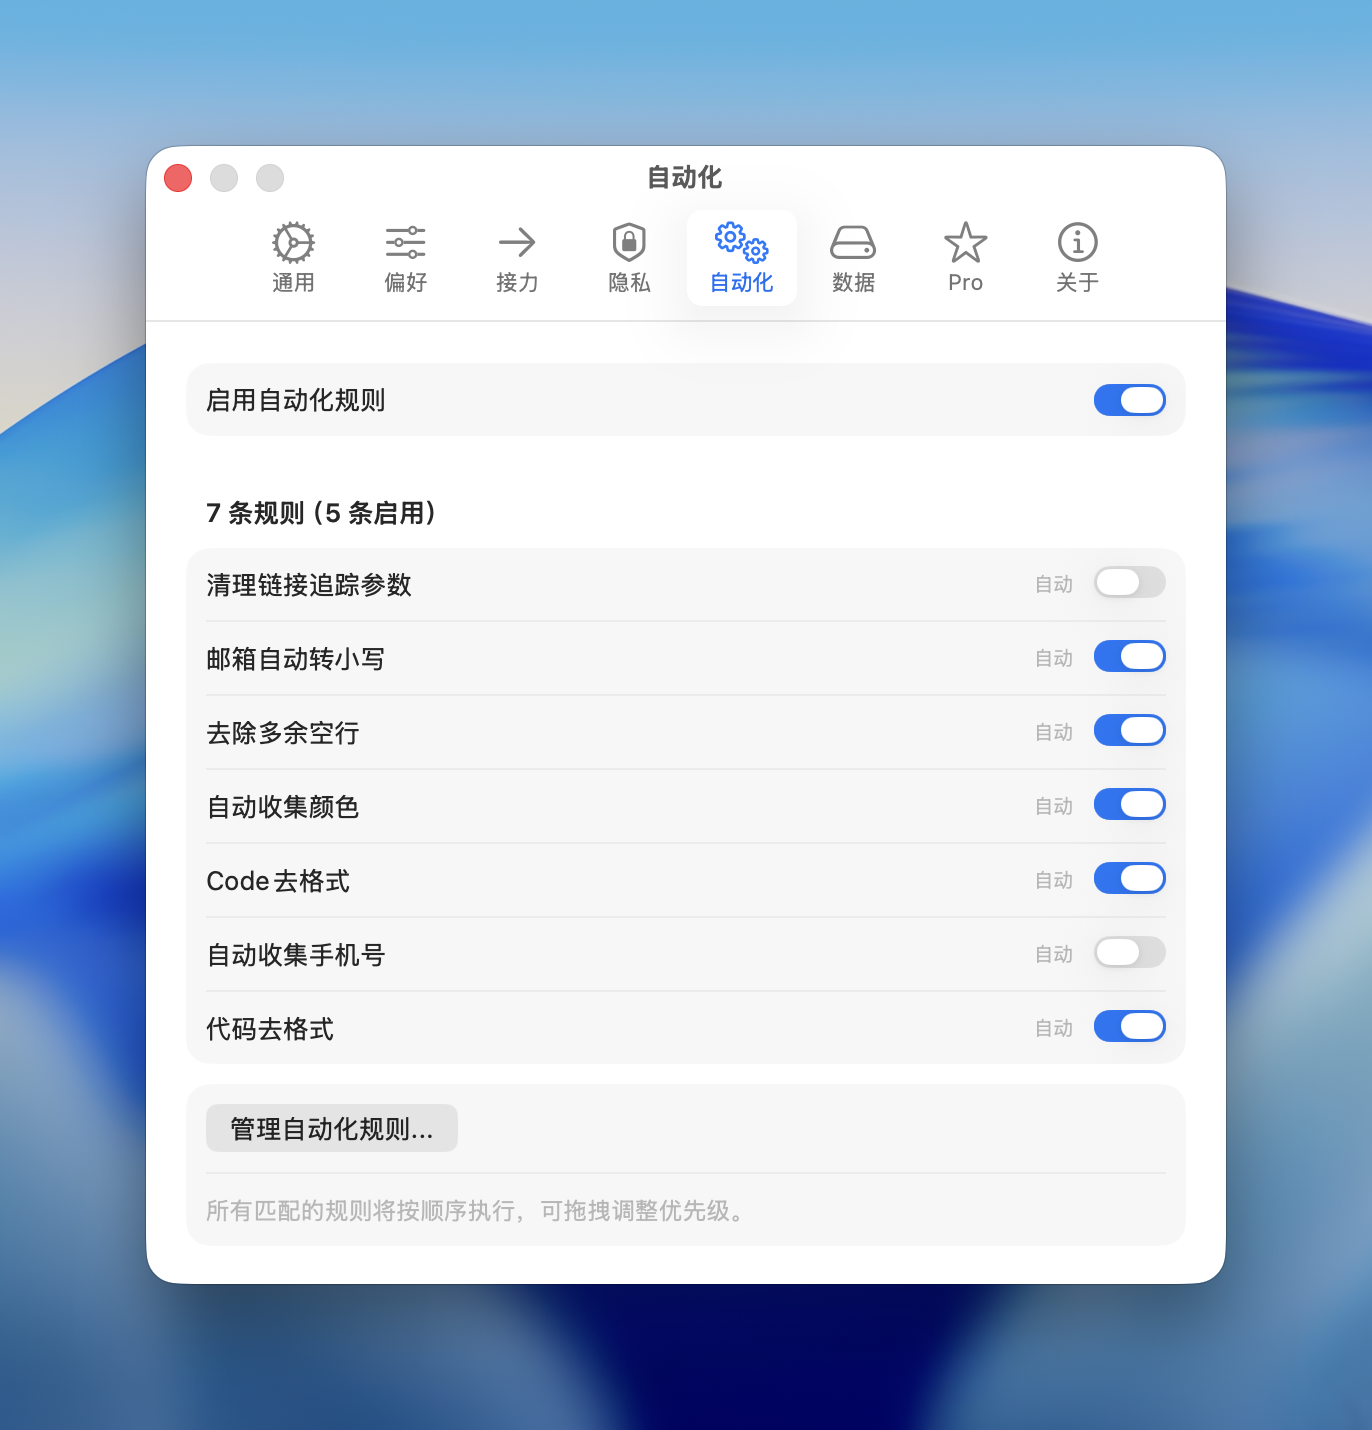
Create custom rules to automatically process clipboard content. Rules are executed in order when new content is captured.
Built-in Rules
PasteMemo includes 3 built-in rules you can enable:
- Clean tracking parameters — Remove UTM and tracking parameters from URLs.
- Auto-lowercase email — Convert email addresses to lowercase.
- Remove extra blank lines — Collapse multiple consecutive blank lines into one.
Custom Rules

Create your own rules with flexible conditions and actions:
Conditions
- Content matches regex — Match content against a regular expression.
- Content type is — Match by content type (text, code, link, image, color, etc.).
- Source app is — Match by the app where the content was copied from.
Conditions can be combined with "All" (AND) or "Any" (OR) logic.
Actions
- Find & Replace — Replace text using regex patterns.
- Strip rich text — Convert to plain text.
- Assign to group — Automatically organize into a custom group.
- Mark sensitive — Automatically flag as sensitive content.
- Pin — Automatically pin the item.
- Skip capture — Do not save this content to history.
Rule Settings
- Trigger mode — Automatic (triggered on clipboard capture) or Manual (triggered from context menu).
- Notify on trigger — Show a notification when a rule is triggered.
- Confirm before apply — Show a confirmation dialog before applying changes.
All matching rules are executed in order. Drag rules in the list to adjust priority.
AI Agent Bridge
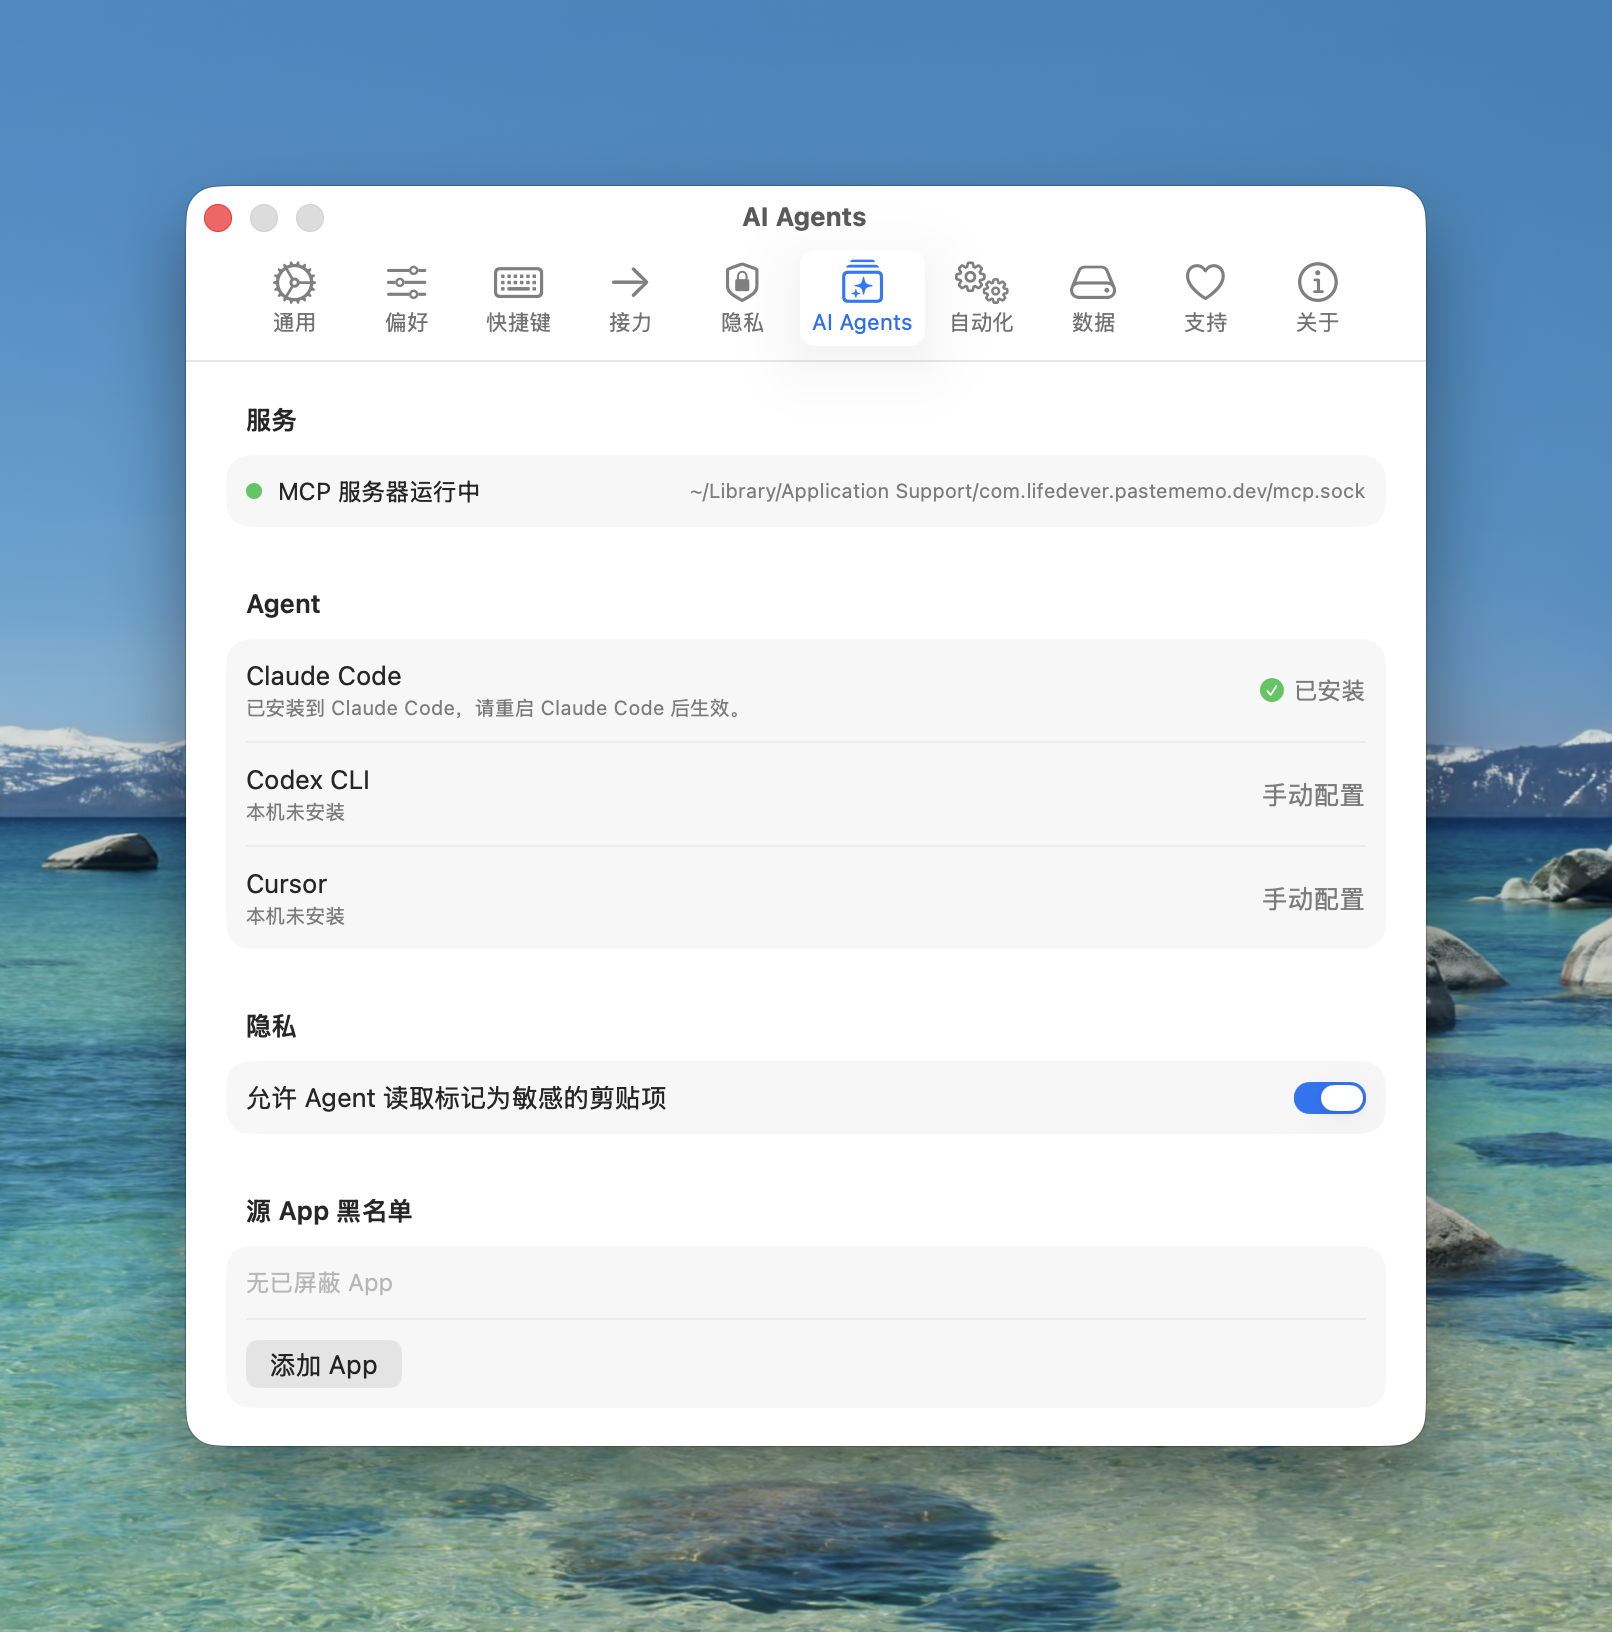
PasteMemo can act as a clipboard context layer for AI Agents. Supported clients include Claude Code, Cursor, Codex, Cline and any MCP-compatible client. Once installed, agents can search your clipboard history, read past items, and write text back — all from inside their chat.
5 MCP Tools
- clipboard_get_current — Read the most recent clipboard item.
- clipboard_search — Search history by keyword, content type, source app, or time window.
- clipboard_get — Get full content of a specific item by ID.
- clipboard_list_recent_apps — List apps you recently copied from (for narrowing searches).
- clipboard_set — Write text back to your clipboard so you can paste it manually.
Setup
Open Settings > AI Agents. PasteMemo auto-detects which agents are installed on your Mac. Claude Code and Cursor support one-click install. Codex and other agents (Cline, etc.) provide a copy-paste config snippet that you add to their config file manually. After install, restart the agent to pick up the new tools.
Privacy
By default, items marked as sensitive (passwords, tokens, etc.) are filtered out before reaching agents. You can also configure a per-source-app blocklist — clips from those apps will never be exposed. Items written by agents (via clipboard_set) are auto-tagged into the AI Agent sidebar category for easy retrieval.
Keyboard Shortcuts
Quick Paste Panel
| Shortcut | Action |
|---|---|
| ↑ ↓ | Navigate items |
| ← → | Switch type filter |
| Tab / Shift+Tab | Switch type filter |
| Enter | Paste (with format) |
| Shift+Enter | Paste + newline |
| ⌘+Enter | Plain text paste |
| ⌘+C | Copy to clipboard |
| ⌘+Click | Toggle multi-select |
| Shift+Click | Range select |
| Shift+↑/↓ | Extend selection |
| Option (hold) | Peek sensitive content |
| ⌘+O | Preview / Open link |
| ⌘+Delete | Delete item |
| ⌘+K | Open Quick Actions |
| Esc | Close panel |
Main Window
| Shortcut | Action |
|---|---|
| ↑ ↓ | Navigate items |
| Shift+↑/↓ | Range select |
| ⌘+A | Select all |
| ⌘+C | Copy item / selected text |
| Delete | Delete selected |
| Space | Quick Look |
Modifier Keys
- ⌘ — Command
- ⇧ / Shift — Shift
- ⌥ / Option — Option / Alt
- ⌃ / Control — Control
Settings

The Settings window has 9 tabs:
- General — Launch at login, hide Dock icon, appearance, menu bar icon style, interface language, copy/paste sound effects.
- Preferences — Quick Paste panel layout and position, clipboard monitoring, auto-paste, link / image link previews, OCR, history retention period.
- Shortcuts — Global shortcuts for Quick Paste panel, Main Window, and Relay Mode; double-tap modifier shortcut.
- Relay — Relay paste shortcut and behavior.
- Privacy — Sensitive content auto-detection, ignored apps list, anonymous usage analytics toggle.
- Automation — Enable/disable automation, manage built-in and custom rules.
- Data — Scheduled backup (local / WebDAV), restore from backup, export / import.
- Sponsor — Support development: donate, star on GitHub, send feedback.
- About — Version info, update check, acknowledgements, links.